Key Takeaways:
- Your checklist tracks client decisions, not construction tasks. Budget, contingency, site reports, finish selections, and written approvals are what fall to you at each phase.
- The design phase carries the most weight. Decisions locked in during those 6 to 10 weeks cost a fraction of the same changes made mid-construction, which run 2 to 3 times higher.
- Documentation is the accountability process. Weekly updates, written scope changes, and your own photo record are what separate a build that stays on budget from one that drifts.
Who It’s For:
- Prospective homeowners in Utah who have chosen, or are close to choosing, a lot and want to know what their responsibilities look like before signing with a builder.
- Families planning a custom home in the $600K to $1.5M+ range who want a phase-by-phase view of the decisions ahead rather than a list of what the trades do.
- Anyone comparing home builders and looking for a way to evaluate process, communication, and documentation instead of portfolio photos alone.
A useful building a house checklist has nothing to do with construction tasks. Those belong to your builder to sequence and inspect. The checklist you need covers the decisions and confirmations that fall to you as the client at each stage of the home building process, so nothing gets rushed or missed while your new house moves from a set of plans to a set of keys.
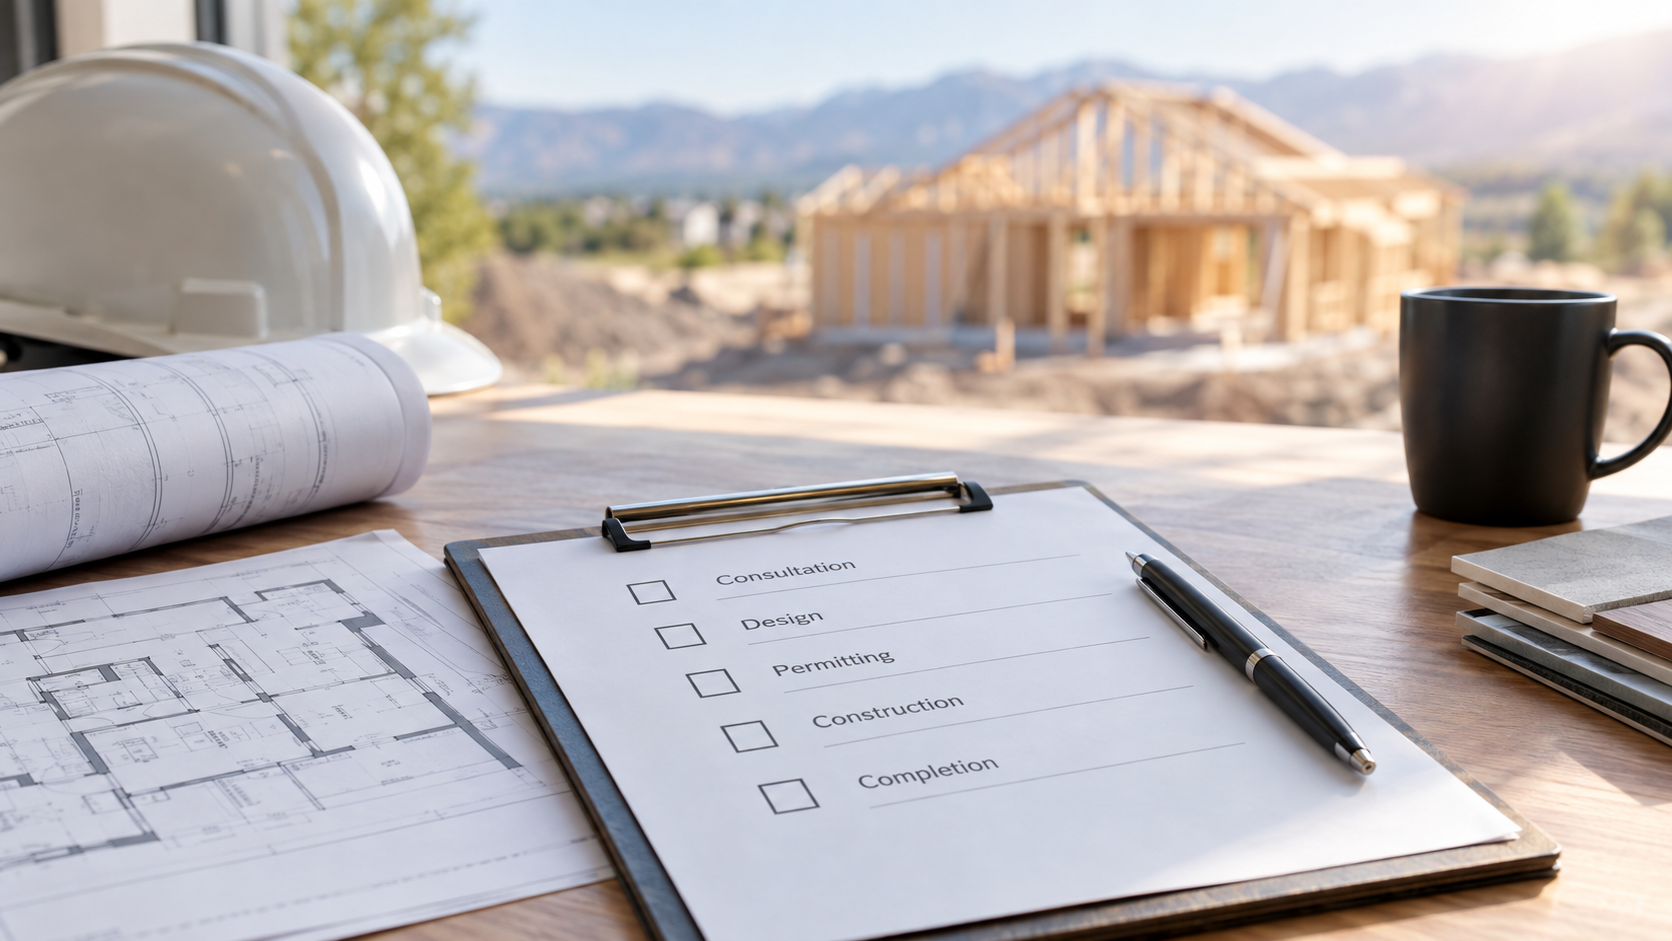
Plenty of online guides call themselves the ultimate home building checklist and then list the contractor’s day-to-day operations. The ultimate checklist for a client tracks your decisions instead, phase by phase. That means consultation, design, permitting, construction, and completion.
Pre-Construction Steps Before You Break Ground
This pre-construction phase is the one prospective homeowners most often shortcut, and it’s the one that sets up everything after it. Money decisions made here shape the whole construction project.
- Confirm your realistic budget range, including a 15% to 20% contingency. Treat that contingency as money you should expect to spend if your land has any surprises.
- Order soil and geotechnical reports on your property before you finalize a design. Slope, soil type, and drainage all affect what foundation you need and what it costs.
- Confirm utility access (water, sewer or a septic system, power), especially on lots outside established neighborhoods. Hookups can be a bigger line item than people expect.
- Choose your builder based on process as much as portfolio. Ask any building company you’re considering how they document budgets, how they communicate, and how many active projects they’re managing right now.
If your land purchase hasn’t happened yet, treat that as step zero. Site conditions can move total cost 15% to 25%, and no checklist item after this one means much until the ground is locked in.
Site Preparation Once the Land Is Locked In
Once the lot is confirmed, schedule site preparation. That means clearing, grading, and a survey to confirm your building envelope against setbacks and easements. These are small line items compared to the rest of the build, yet they’re the ones most likely to get skipped in a rushed timeline. Skipping them is how a foundation gets poured in the wrong spot on the building site.
Custom Home Design, House Plans, and the Floor Plan
Design is where most of the value in a custom home gets locked in, and it takes 6 to 10 weeks of active work with your architect before you submit a permit. Four items fall to you during this phase.
- Review your house plans and floor plan against how you live, rather than how a plan looks on paper. Walk the room dimensions against your real furniture and daily routine, and check that the garage, the walls between shared spaces, and the windows serve the family that will live there. The dream home version of a plan and the version that works for your life are often different documents.
- Finalize finish selections before framing starts. Cabinet style, countertop material, flooring, plumbing fixtures, light fixtures, and bath accessories all get decided in design. The same change made mid-construction costs 2 to 3 times as much.
- Set and document your allowances for fixtures and appliances in writing, so there’s a clear number to compare against once you’re selecting products.
- Get every custom upgrade or change documented and approved in writing. A verbal yes on a site visit doesn’t count.
This is also the phase to settle energy efficiency. Insulation values, window packages, and mechanical sizing cost far less to get right on paper than to retrofit, and an energy-efficient envelope pays back every month you own the home.
A builder who pushes you to skip ahead to construction before design decisions are locked is optimizing for their schedule. Slower, more deliberate design work is what keeps your construction phase from turning into a series of expensive do-overs.
Permits, Contracts, and Financing Before the Construction Process Starts
Three things need to be in place before anything gets built.
- A construction loan secured. Construction loans work differently than a standard mortgage, and lining one up early avoids delays once your permit is ready.
- All required local permits are collected, which varies by county and can be a longer process in mountain jurisdictions than in established suburban ones.
- Your contract is reviewed line by line, with particular attention to how change orders are priced. This is the document that protects you if scope shifts mid-build. Read it the way you’d read a loan agreement.
What to Track During Construction, From the Ground to Your Home’s Exterior
Once the construction process begins, your role shifts from decision-maker to monitor. Four items stay on your plate.
- Weekly updates from your builder, whether that’s a site meeting, a call, or a written report. Raise it immediately if you’re not hearing from your builder without prompting.
- Written confirmation after every decision, especially anything that touches your allowances or scope. A verbal agreement on-site is easy to forget by the time it matters.
- A running record of your own, with photos, dates, and decisions, even if your builder is keeping documentation too. Photograph the foundation, the framing, the roof, and the home’s exterior at each stage before finishes cover them. It’s your home and your budget. Keep your own copy.
- Any scope change is flagged and priced before it happens, rather than discovered later on an invoice.
This is also where the difference between home builders shows up most. A builder managing a handful of active projects can walk your building site and answer a question the same week. A builder juggling dozens can’t give you that kind of access, and it shows in how fast potential problems get caught. Rough-in is a good example. A mislocated vent stack or a plumbing line run through the wrong floor space is a small fix while the walls are open and an expensive one after drywall.
Final Walkthrough and New Home Move-In
- Do your final walkthrough with a detailed punch list, testing mechanical systems live rather than just checking that they’re installed.
- Document any defects with photos and dates before you sign off, so there’s a clear record of what still needs attention.
- Confirm your final occupancy permit before scheduling movers.
- Register appliance and equipment warranties, and put your first-year maintenance items on a calendar. Many year-one issues are covered if you catch them in time, which can save you money.
Why We Build the Home Building Checklist This Way
Most building checklists online are written for the construction side, as a sequence for the trades rather than for the homeowners paying for the home. We built our home building checklist around what a lender would want documented at each stage, because that’s the standard Roots Builders holds itself to internally. Transparent budgets with real allowances, scope changes in writing, and a final product that matches what was presented at the start. The great benefit for the client is that nothing gets discovered after the fact.
That approach comes from Creed Richardson’s years funding builders and developers before starting Roots. Watching which projects stayed on budget and which didn’t made one thing clear. The builder’s skill was rarely the deciding factor. Whether an accountability process existed between everyone involved was. This checklist is that process, broken into what’s yours to track at each stage.
Start With the House Checklist That Matches Your Lot
A generic house checklist gets you most of the way there. The numbers that shape the build most- your contingency, your utility costs, your realistic timeline- all depend on your lot and scope. If you’re early in the process and want to walk through what a complete version looks like for your project, schedule a consultation.